1 - Get windows 10 and Virtio-drivers ISO’s
2 - Upload your ISO’s to proxmox server
1 - First, click on local, go to ISO Images, after click on upload:
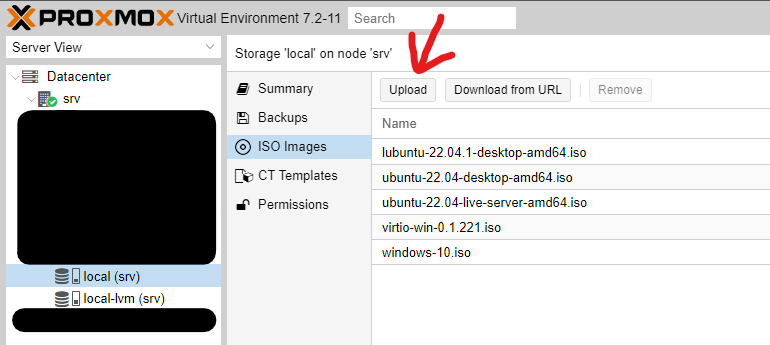
2 - Now chose your ISO, and click on upload (WAIT FOR 100%):
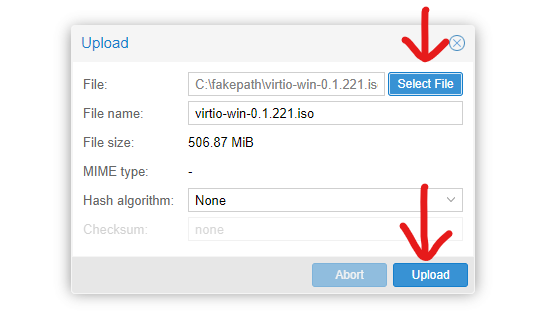
* You can change file name if you want to
3 - Create VM
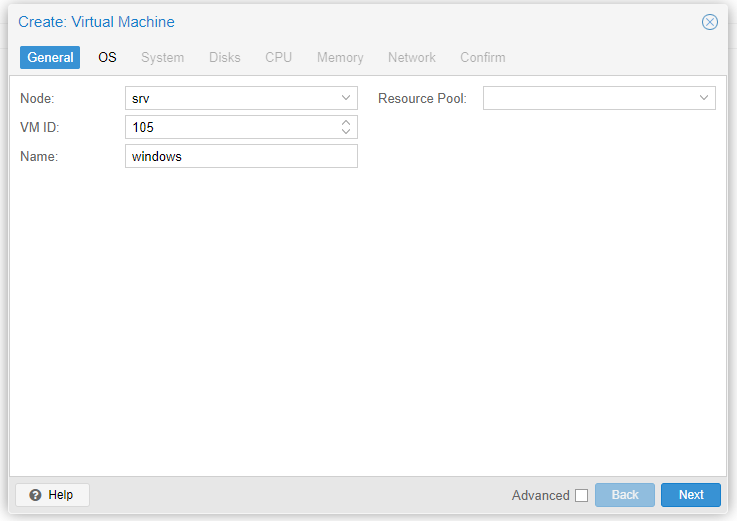
1 - Now, let’s create the VM (virtual machine), First, click on Create VM (Up right):

2 - Choose a name for your VM:
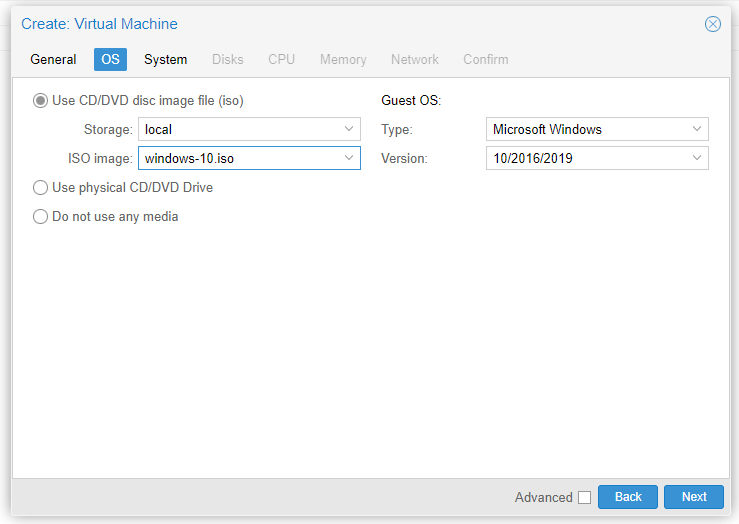
3 - Choose your windows 10 ISO, and change Type to Microsoft Windows and version to 10/2016/2019, gonna be like this:
4 - Check Qemu Agent box:

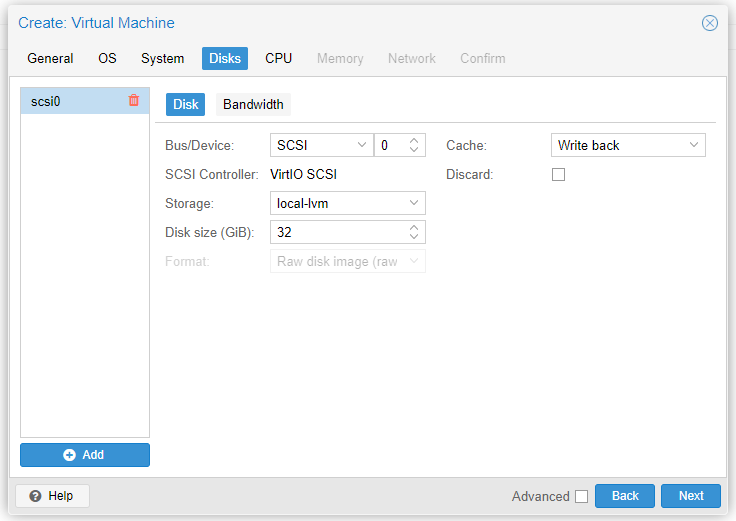
5 - Change Bus/Device to SCSI, Cache to Write back, You can choose your Storage and Disk size (You can change disk size later):
6 - Select how many cores and sockets you want (You can change it later):

7 - Select how much memory you gonna give it (You can change it later):

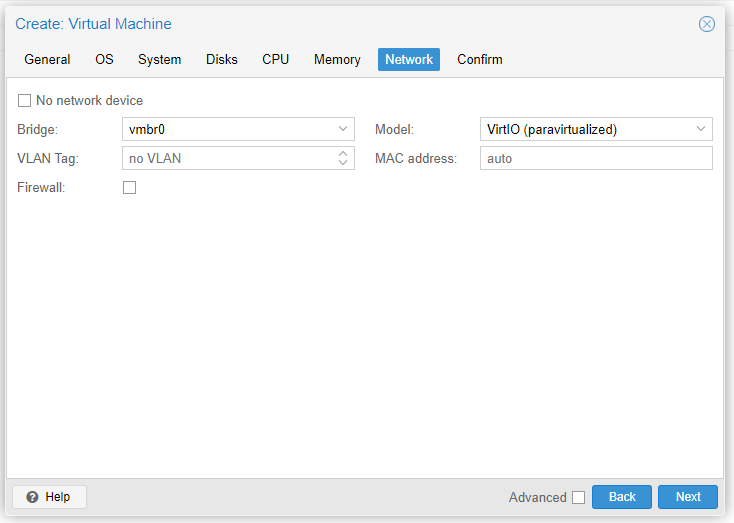
8 - Change model to VirtIO (paravirtualized) and disable firewall (You can change it later):
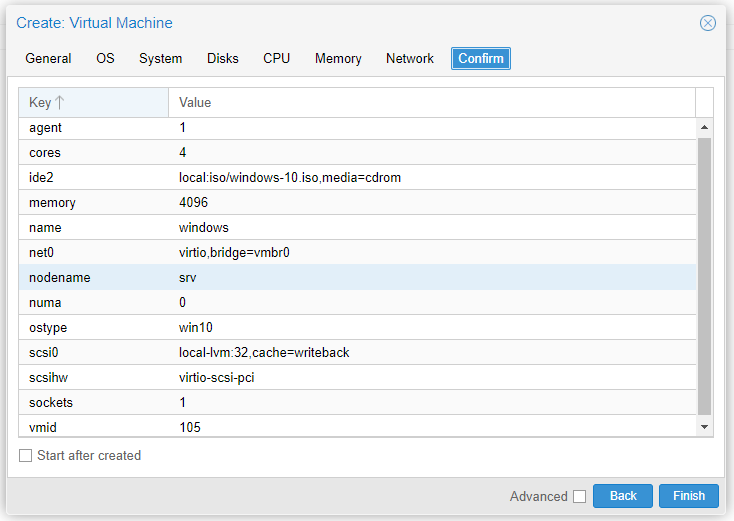
9 - Now, check everything and after click on finish and wait for the VM be created:
4 - Windows installation
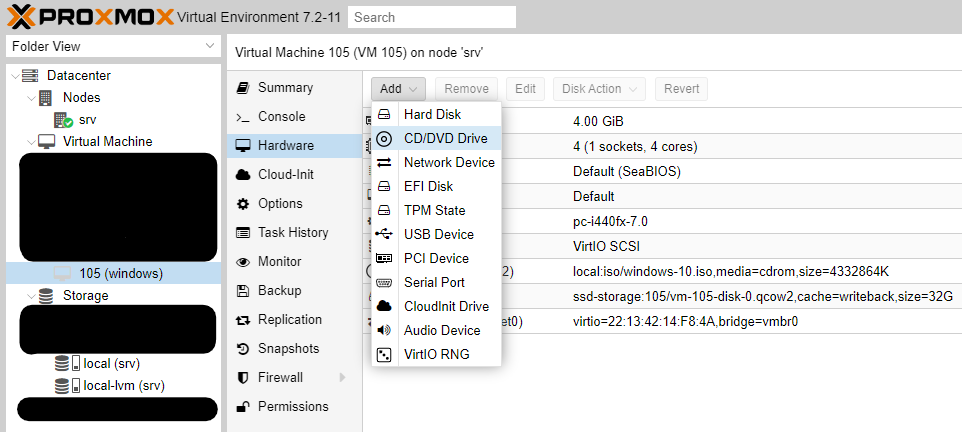
1 - First, we’re going to add our virtual drivers to installation, click on your VM, go to hardware section and click on Add, click on CD/DVD Drive:
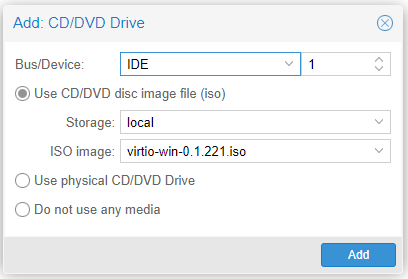
2 - Select your virtio drivers, change ID number to 1 and click on Add, probably is gonna be like this:
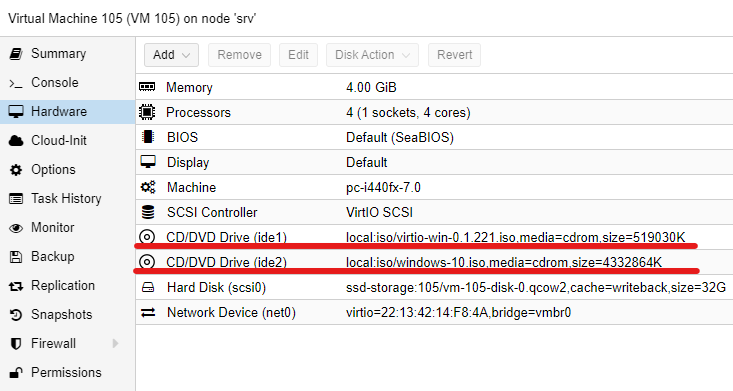
3 - If everything’s correct, your hardware section has to be similar to this:
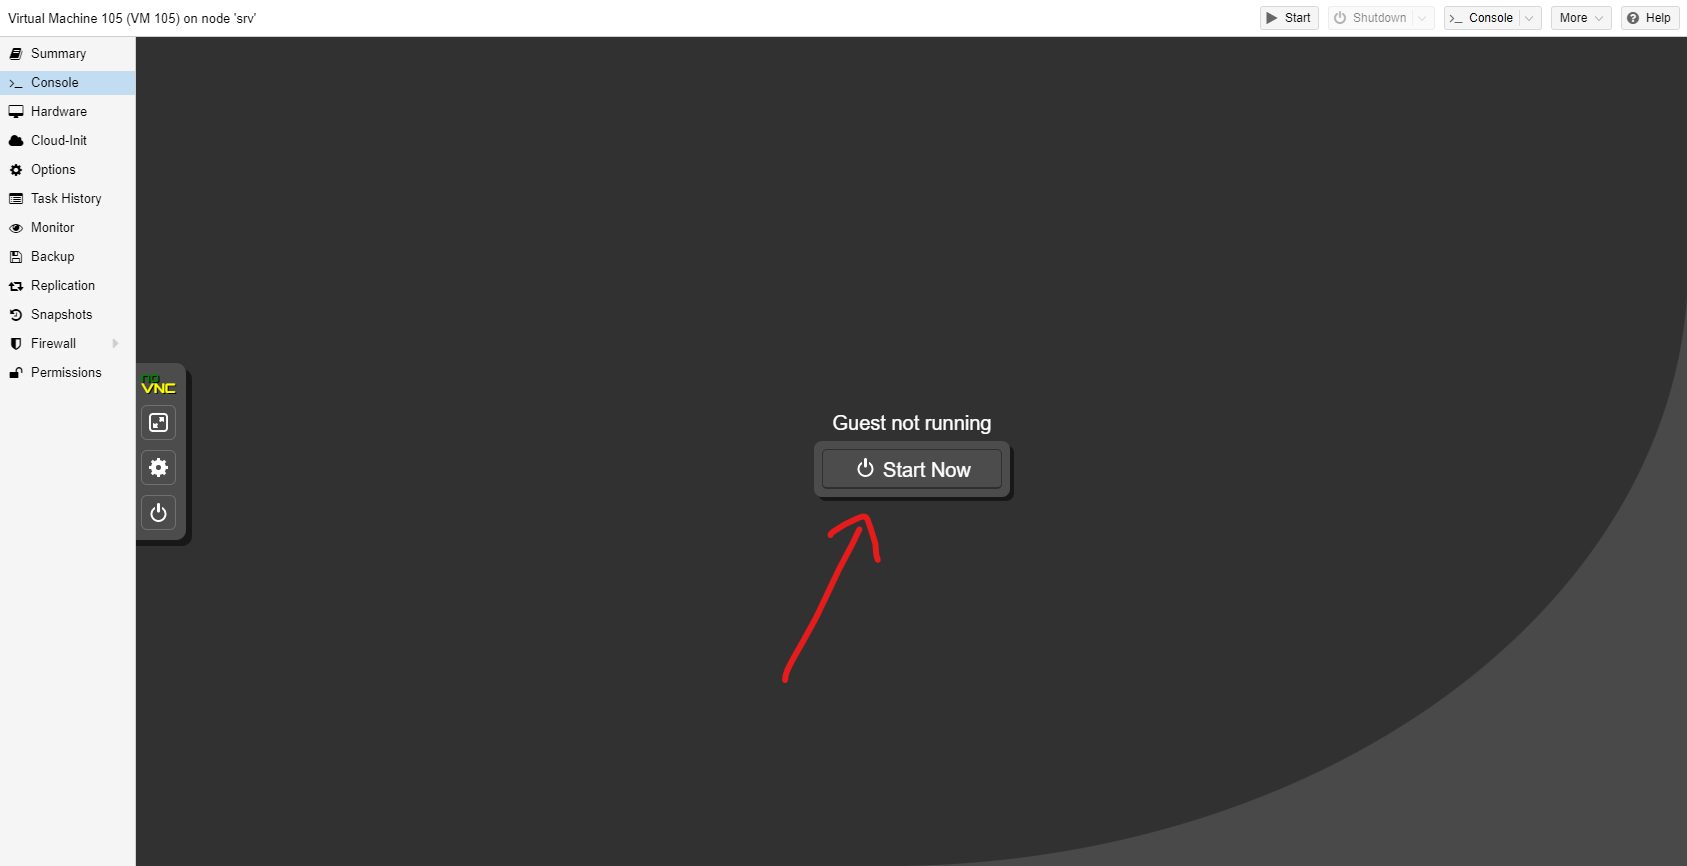
4 - Go to Console section and click on Start Now:
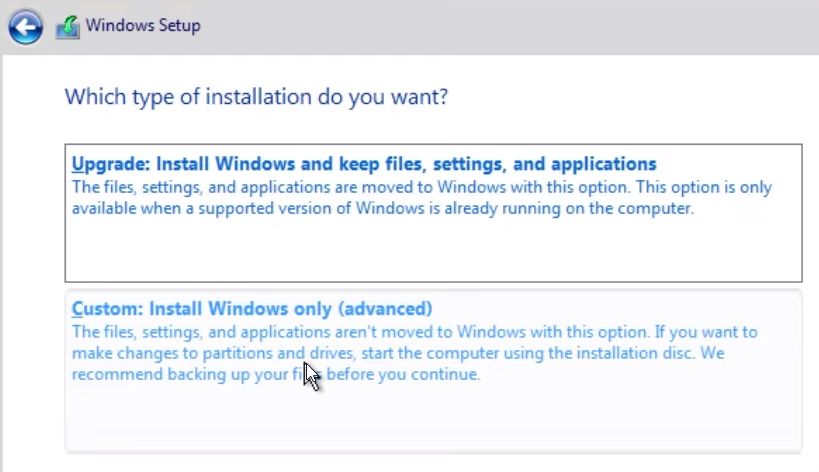
5 - Now, proceed with windows installation till you get to “Which type of installation do you want?”, Select Install windows (advanced):
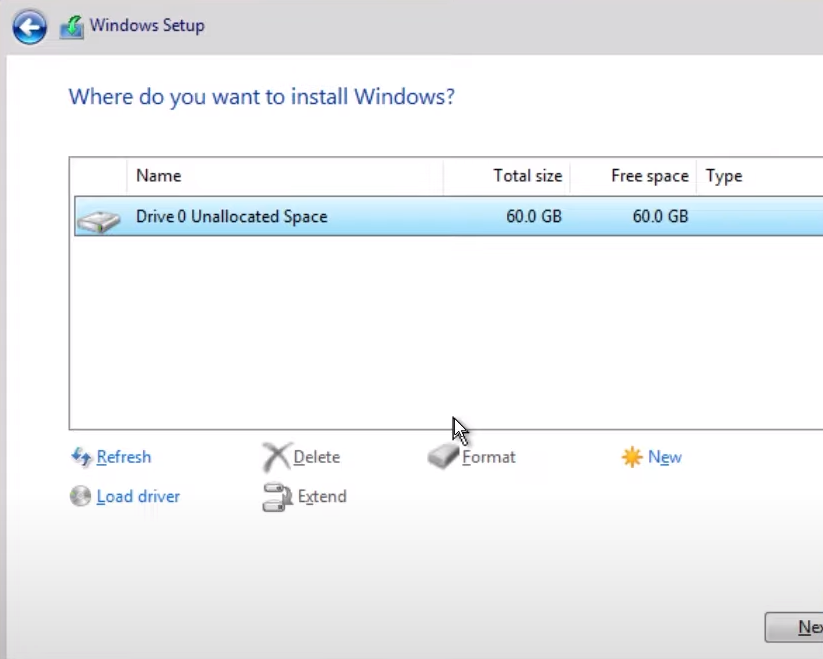
6 - As you can see, there’s no disk. So we have to load the drivers:
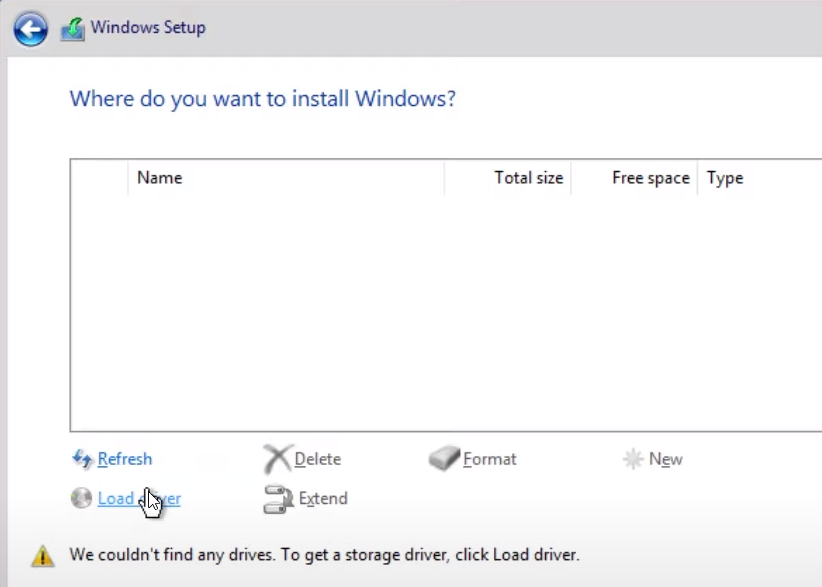
7 - Browse:
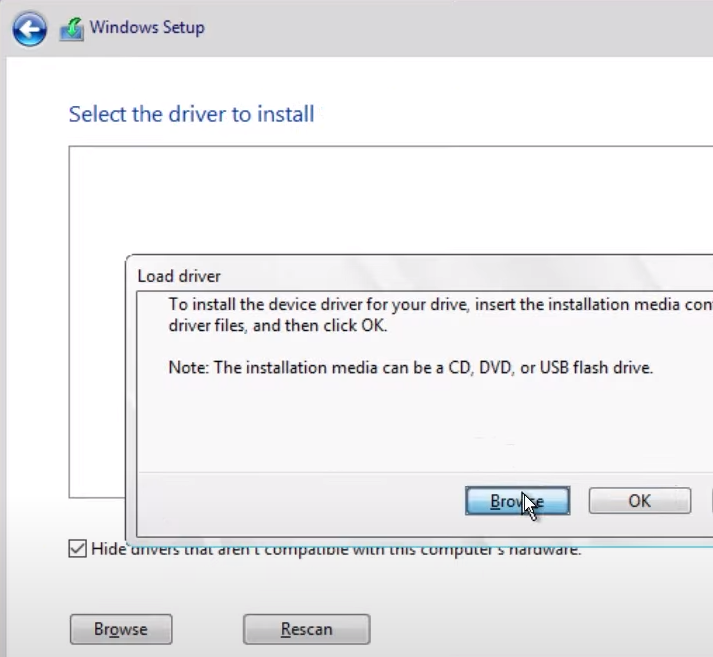
8 - Select the CD driver that we loaded in step 2:

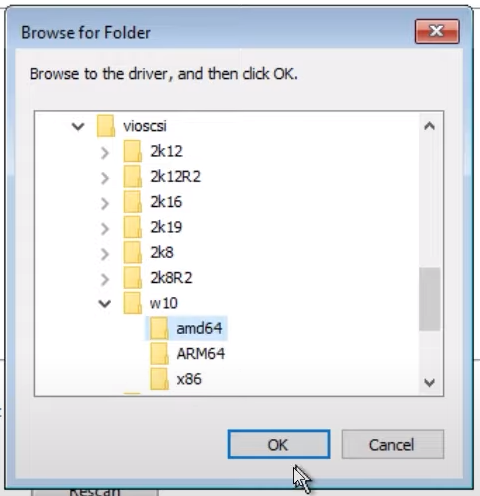
9 - Select vioscsi, amd64 and click ok:
10 - Click next:

11 - Now, as you can see, our disk is loaded (I added more 28GB):
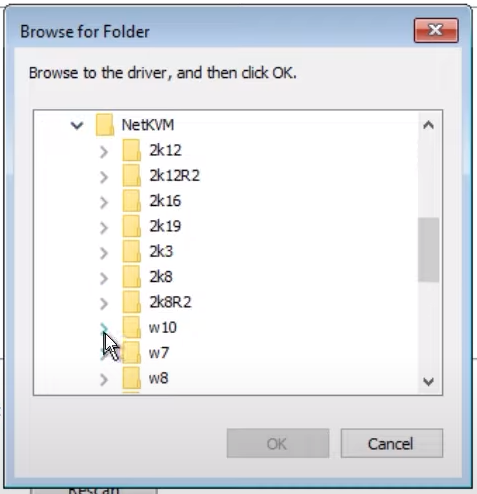
12 - Now do the same to NetKvm:
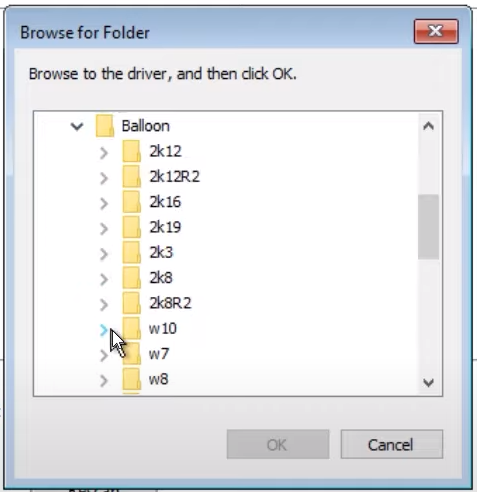
13 - And the same to Balloon:
14 - proceed with windows installation till get to desktop.
5 - Desktop configuration
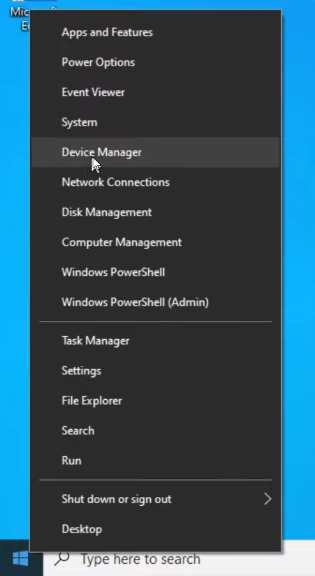
1 - First, right click on windows logo and click on Device manager:
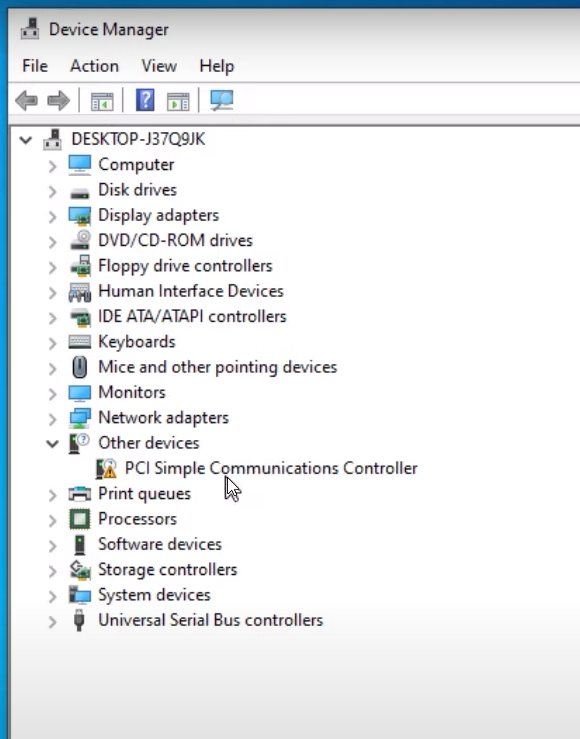
2 - As you can see, we’ve to install some drivers, double left click on PCI Simple Communi…:
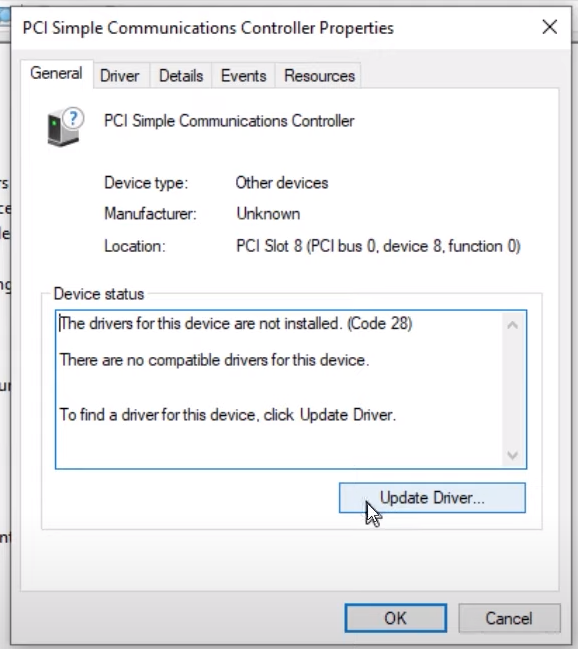
3 - Click on Update Driver:
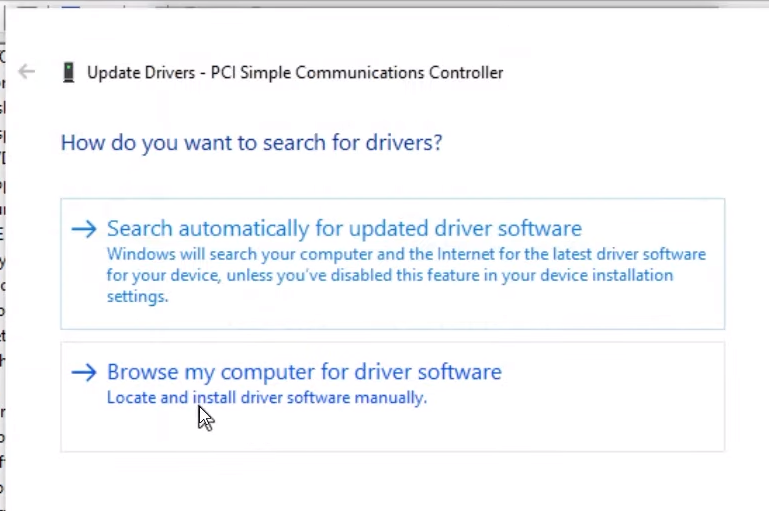
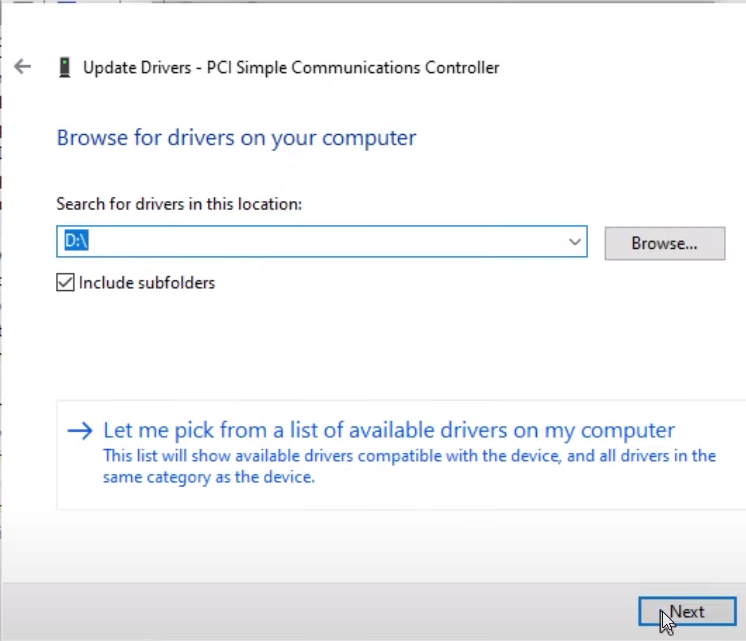
4 - Select Browse my computer for driver software
5 - Click on CD/DVD Drive with virtio drivers:

6 - Click Next:
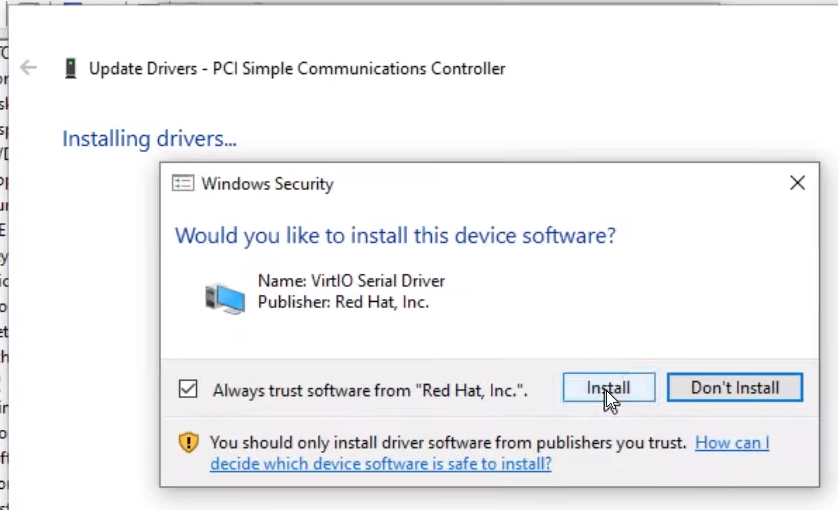
7 - Click Install:
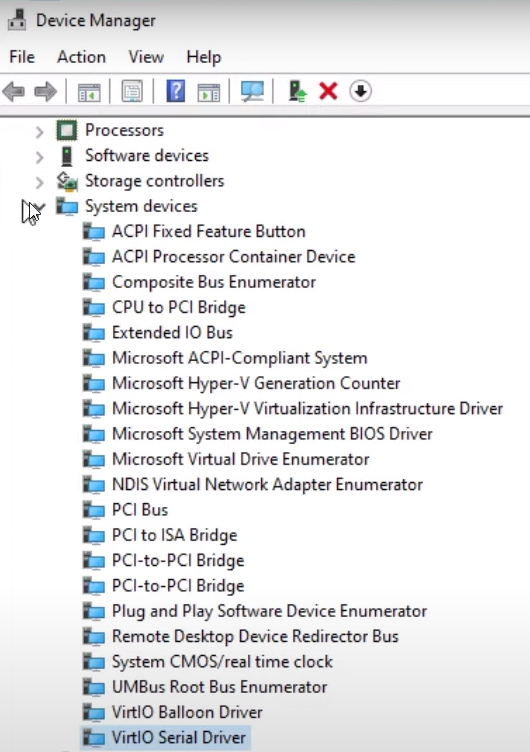
8 - As you can see, everything is installed:
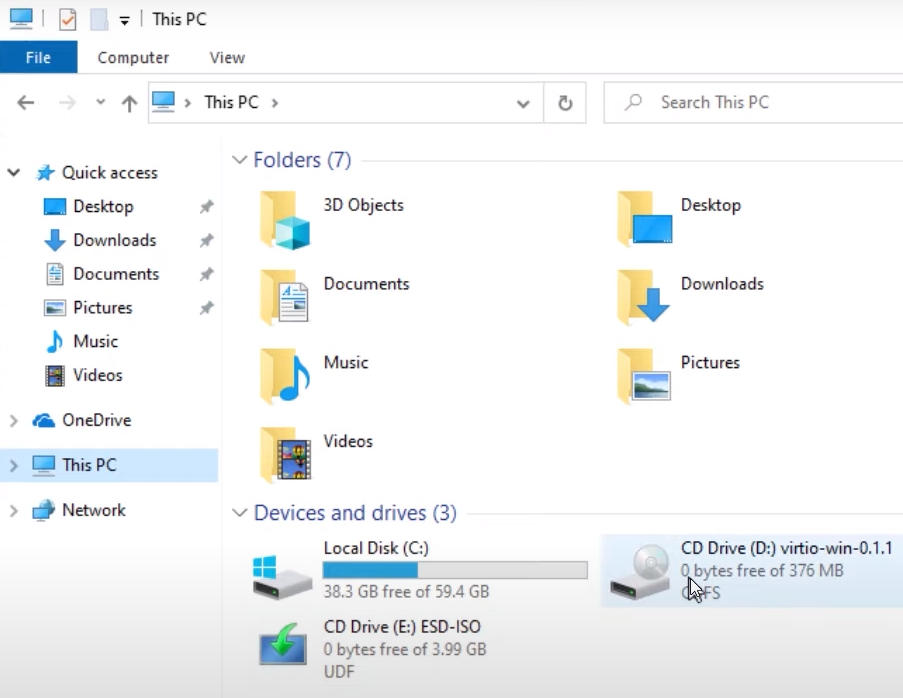
9 - Open windows explorer, go to This PC, go to CD Drive with virtio drivers:
10 - Open guest-agent:
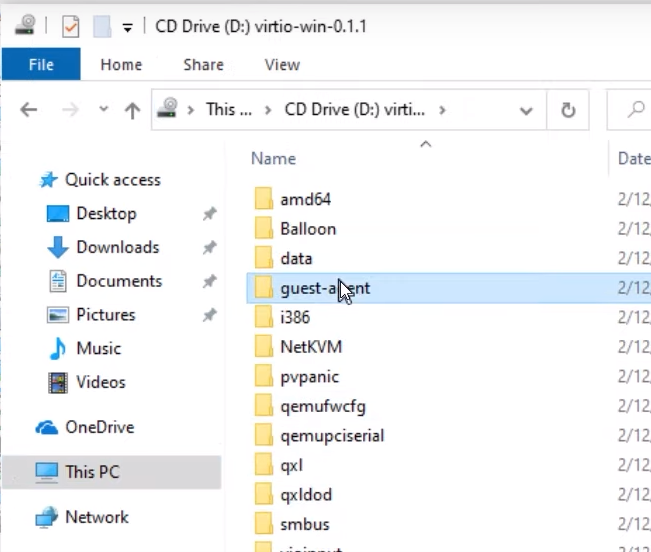
11 - Install qemu-ga-x86_64:

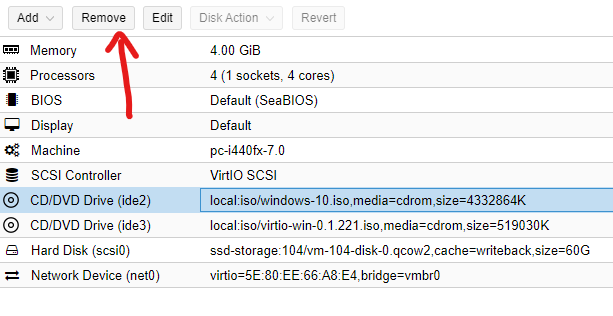
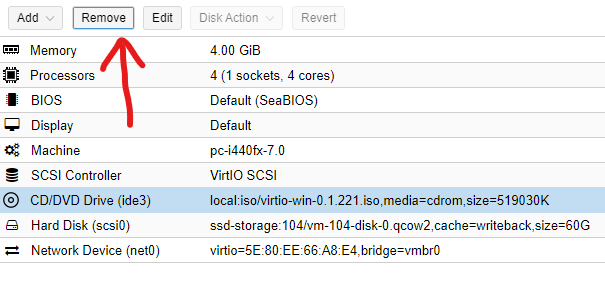
12 - Now that everything’s installed, shutdown the machine, go to hardware section and remove Windows ISO and Virtio drivers: